Google announced that users of their “G Suite legacy free edition” will soon have to start paying. I’ve begun exploring my options, the first of which was iCloud. (For those who don’t know, Apple recently started supporting custom email domains for users of any paid tier of iCloud.)
Features
- No additional cost if you already pay for iCloud
- No need to check another account—your mail arrives in your existing iCloud inbox.
- If you’re in a family sharing group you can let others have an account under your domain too.
- Can add multiple domains.
- Setup includes SPF and DKIM.
Limitations
- You can only add three email addresses per user.
- It doesn’t seem to be possible to set up a wildcard that receives mail sent to any/all usernames at your domain.
- You can’t give an account to someone who isn’t part of your family sharing group.
- You can only add five domains. Yes that seems like a lot but it presents a problem for some of us.
Verdict
This is a compelling option for many people. It’s perfect for those who have a small number of domains all to themselves, or who have a domain they want to share with immediate family who are all in the Apple ecosystem. That covers a lot of non-business use cases.
But personally I won’t be able to use it—at least not exclusively. I have more than five domains and some of them have users who are not in my family group. I may end up pointing one or two at iCloud, but I’ll have to look elsewhere for the rest.
If it looks like iCloud would work for you, read on for a tour of the setup process.
Setup
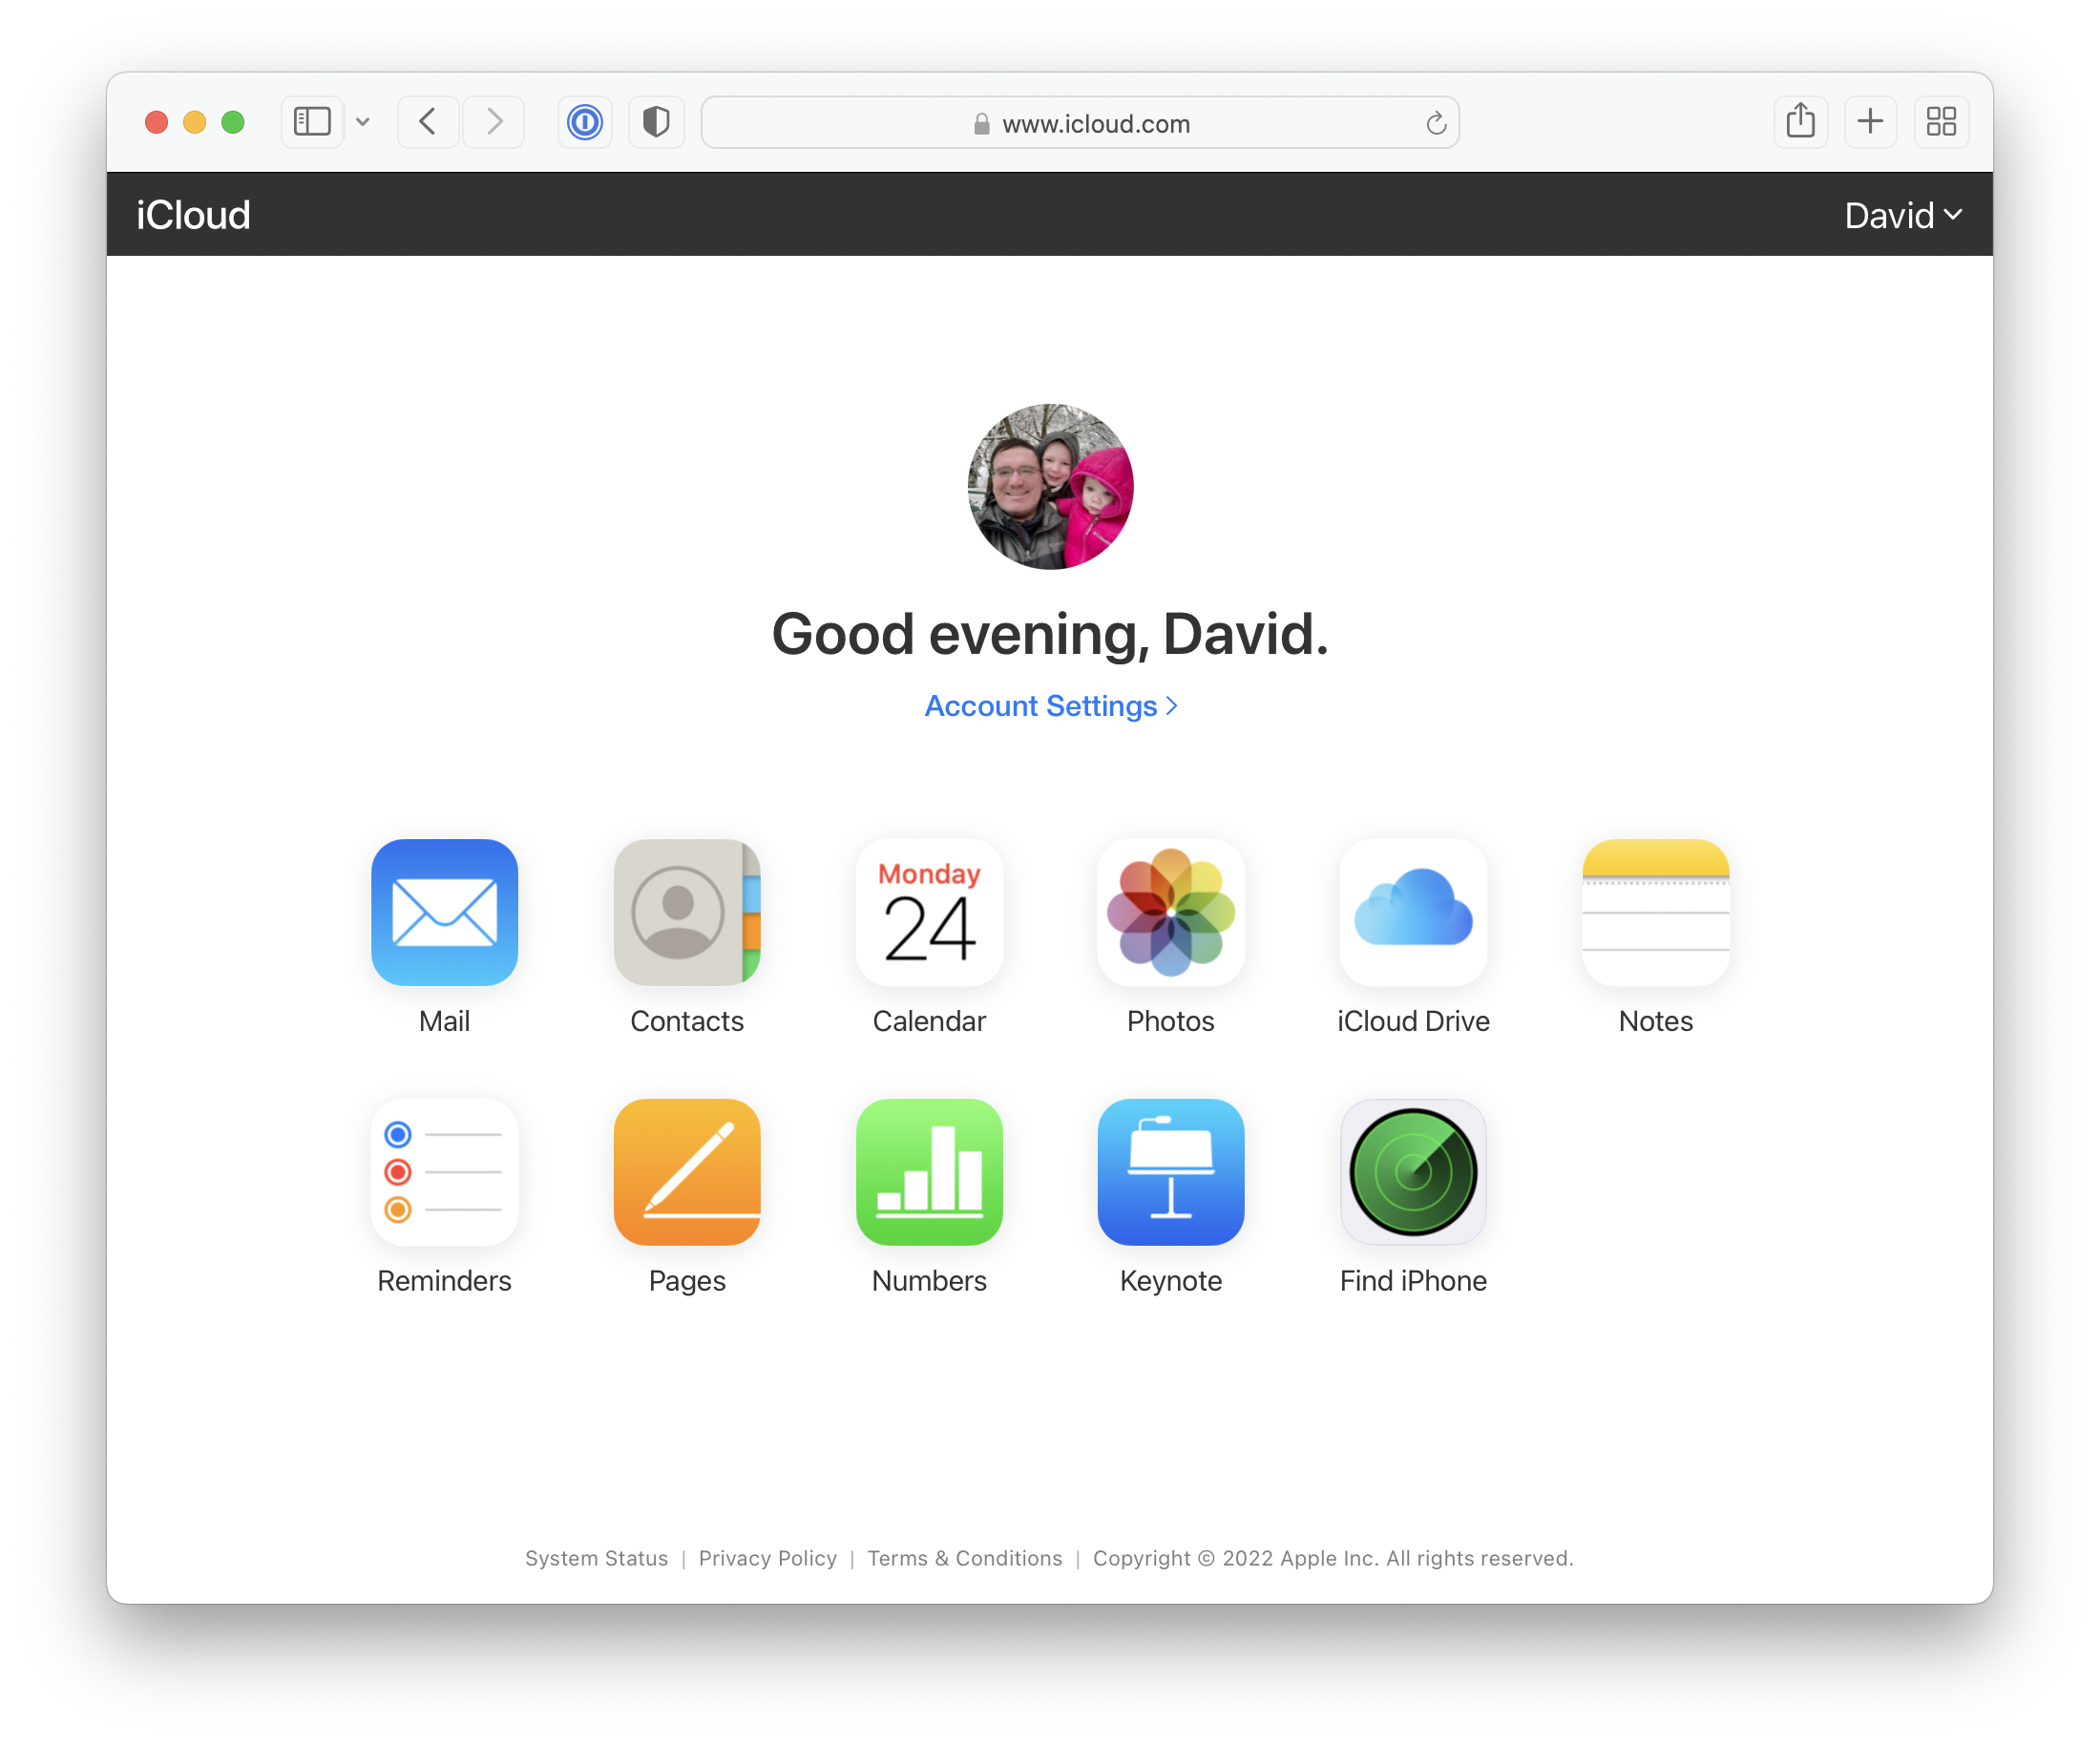
To get stared, sign into your iCloud account and click on Account Settings.
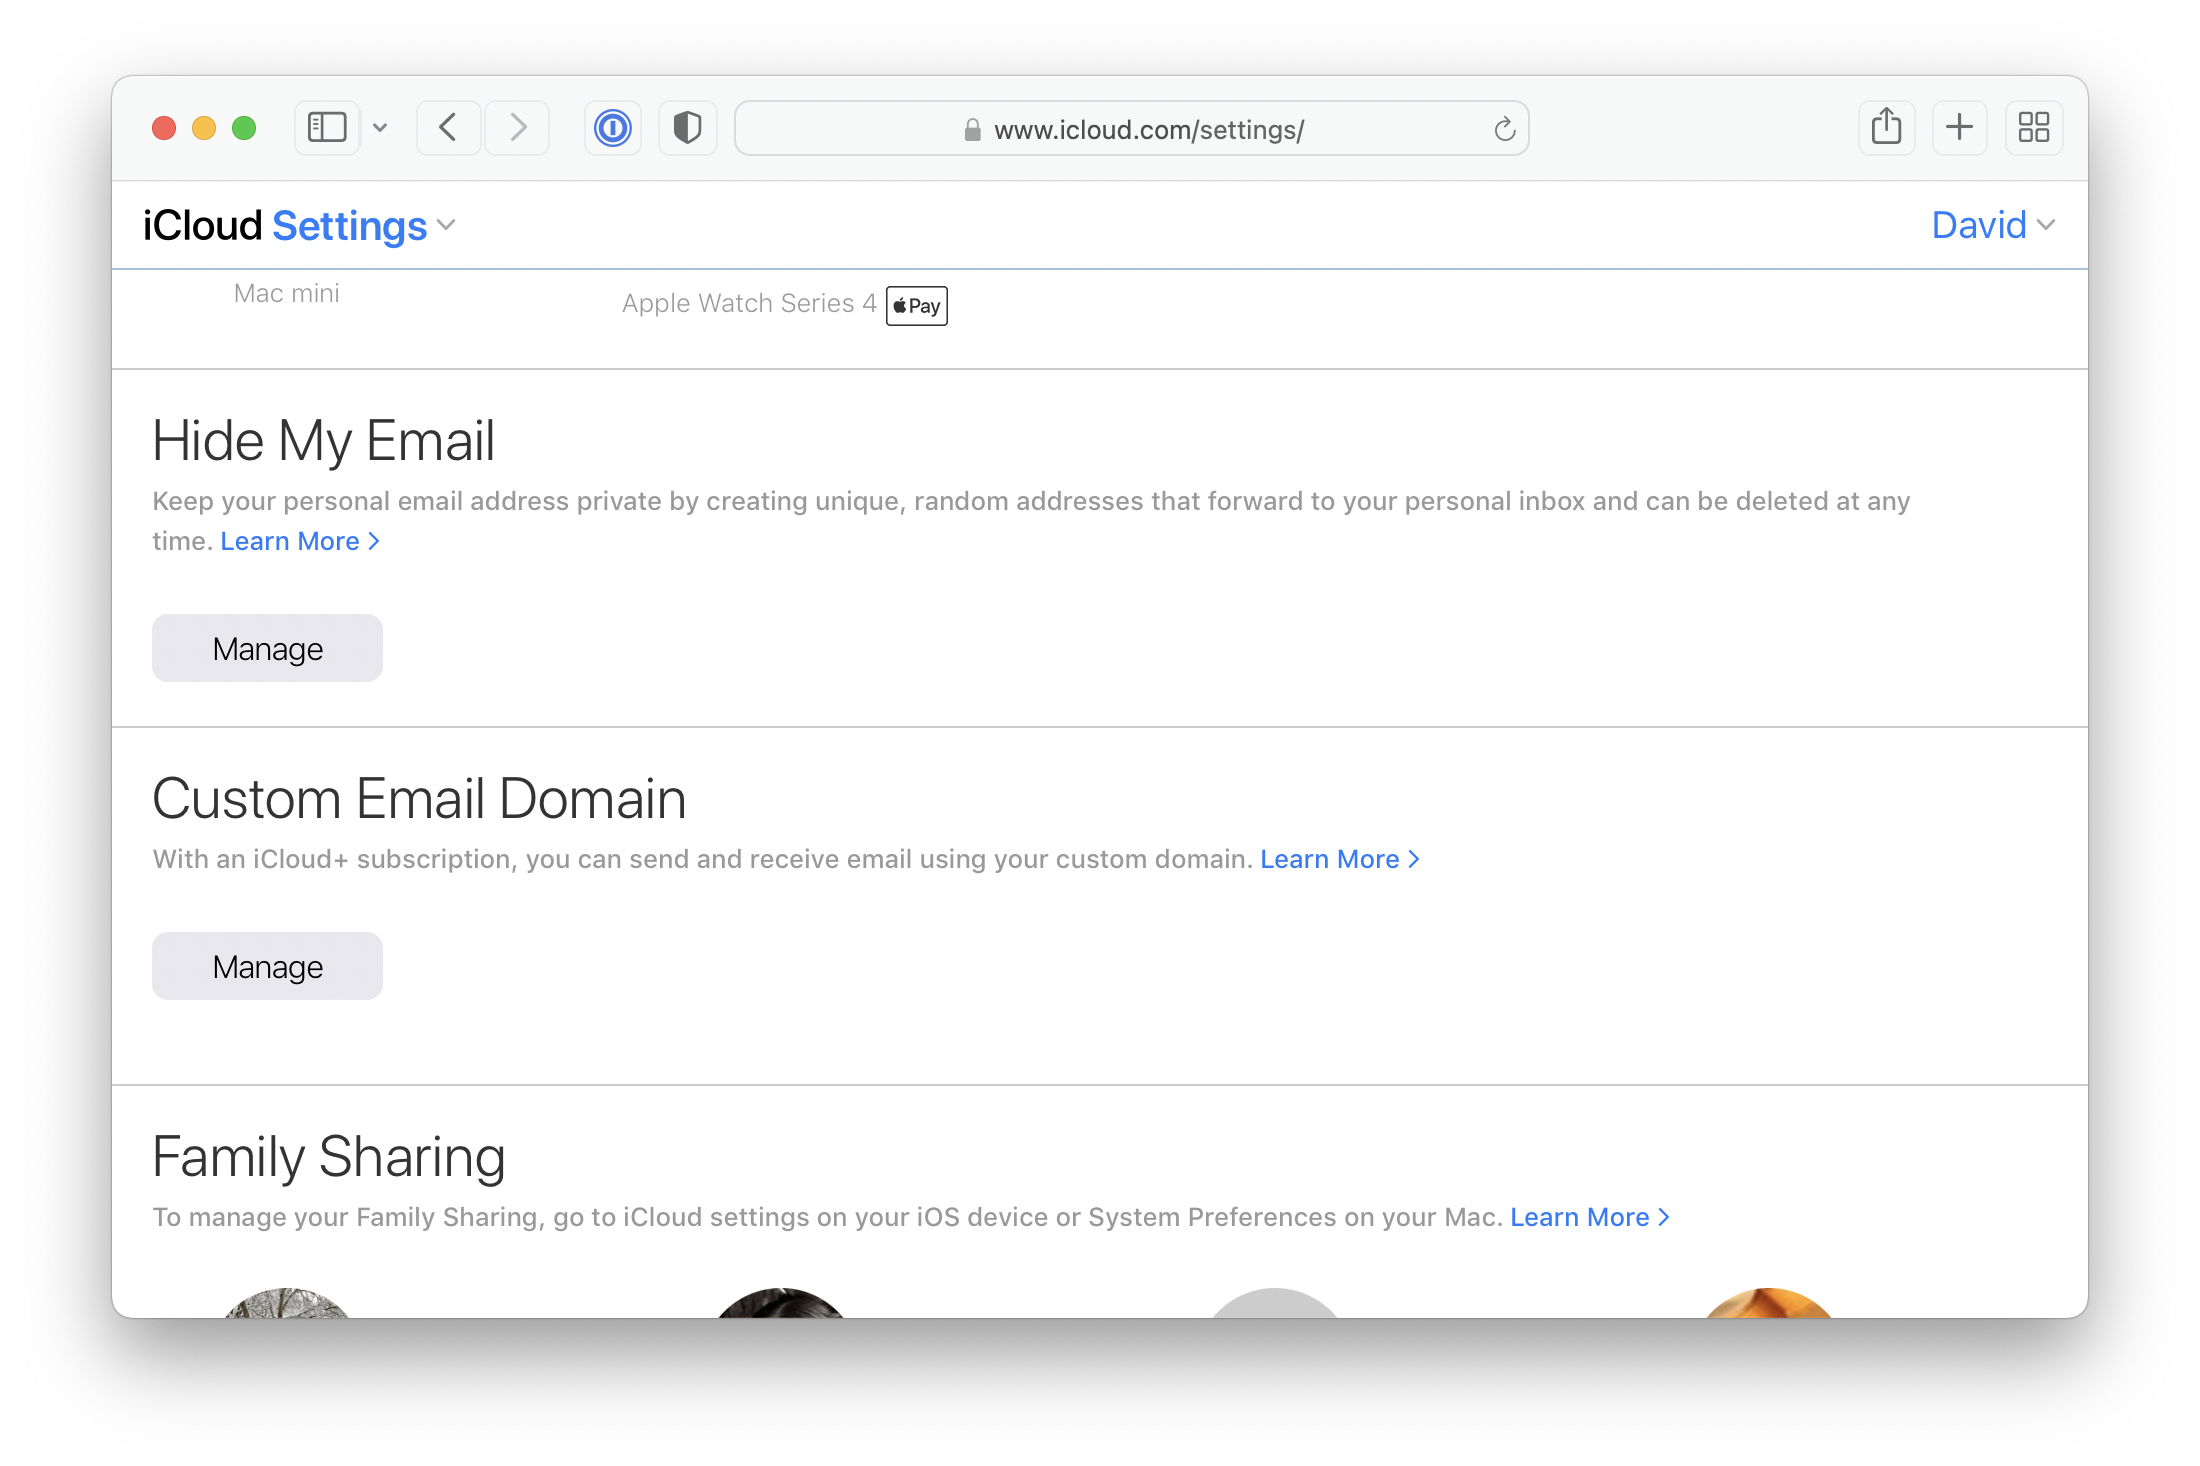
Scroll down to Custom Email Domain and click Manage.
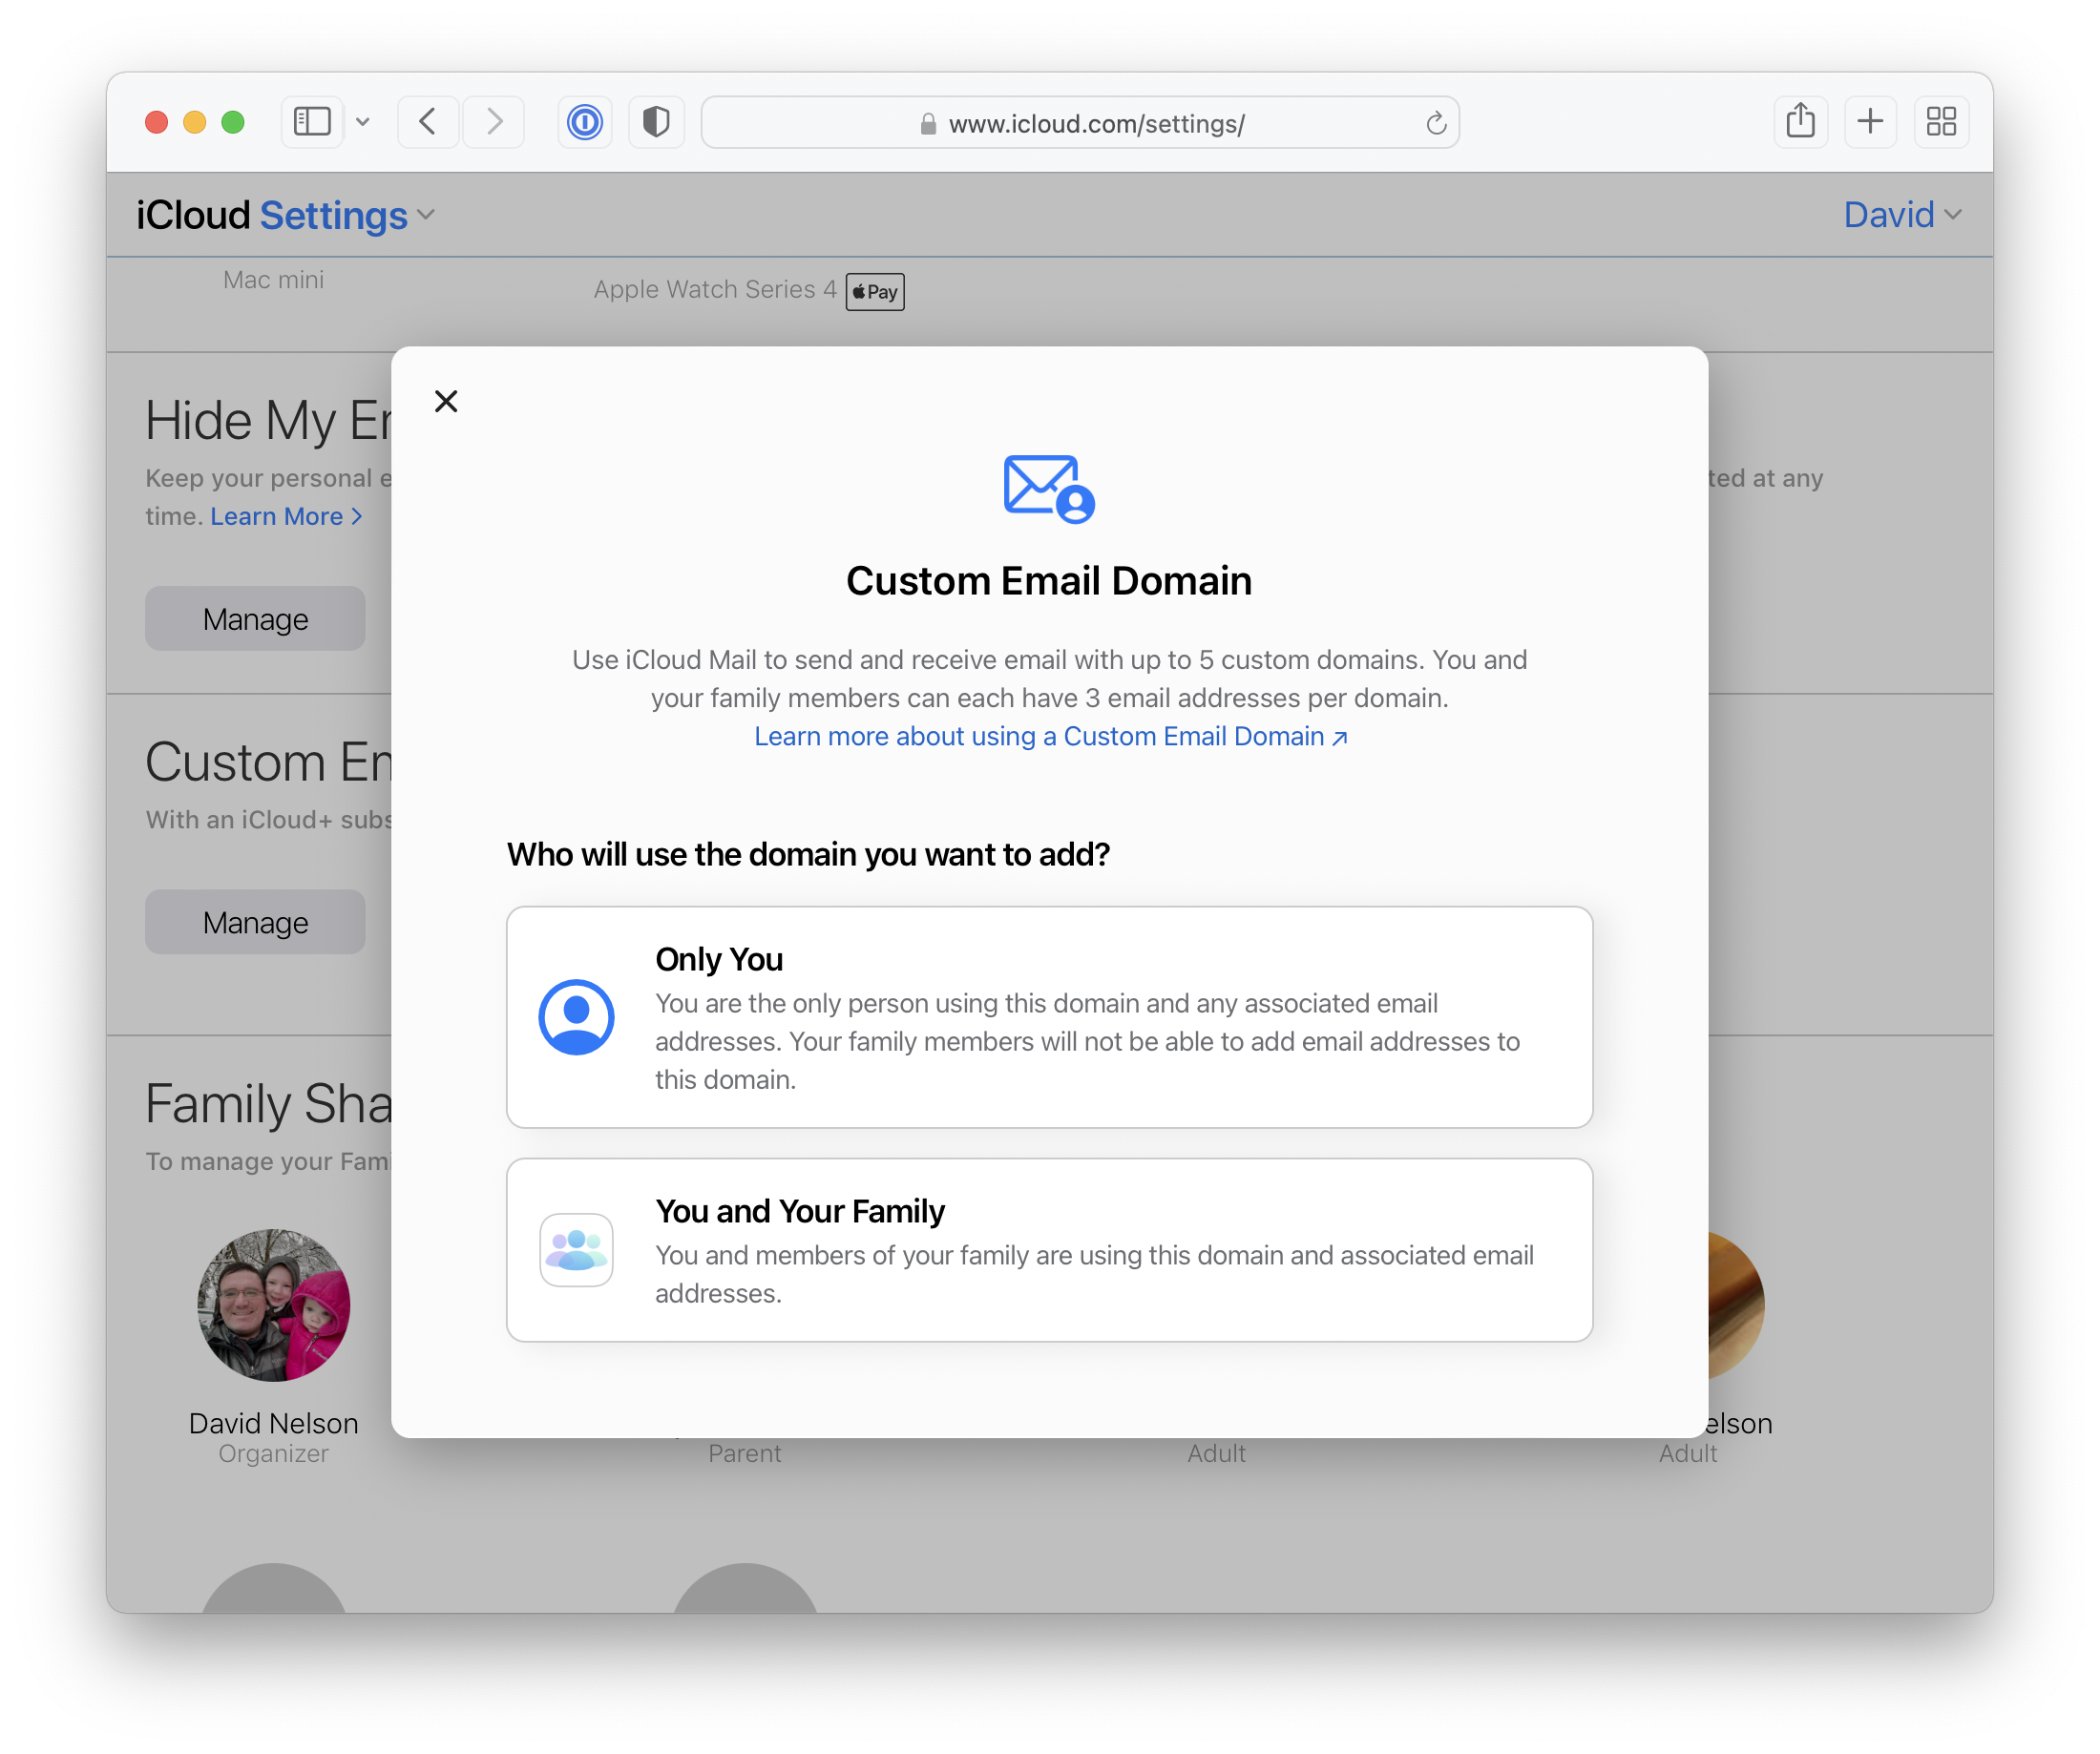
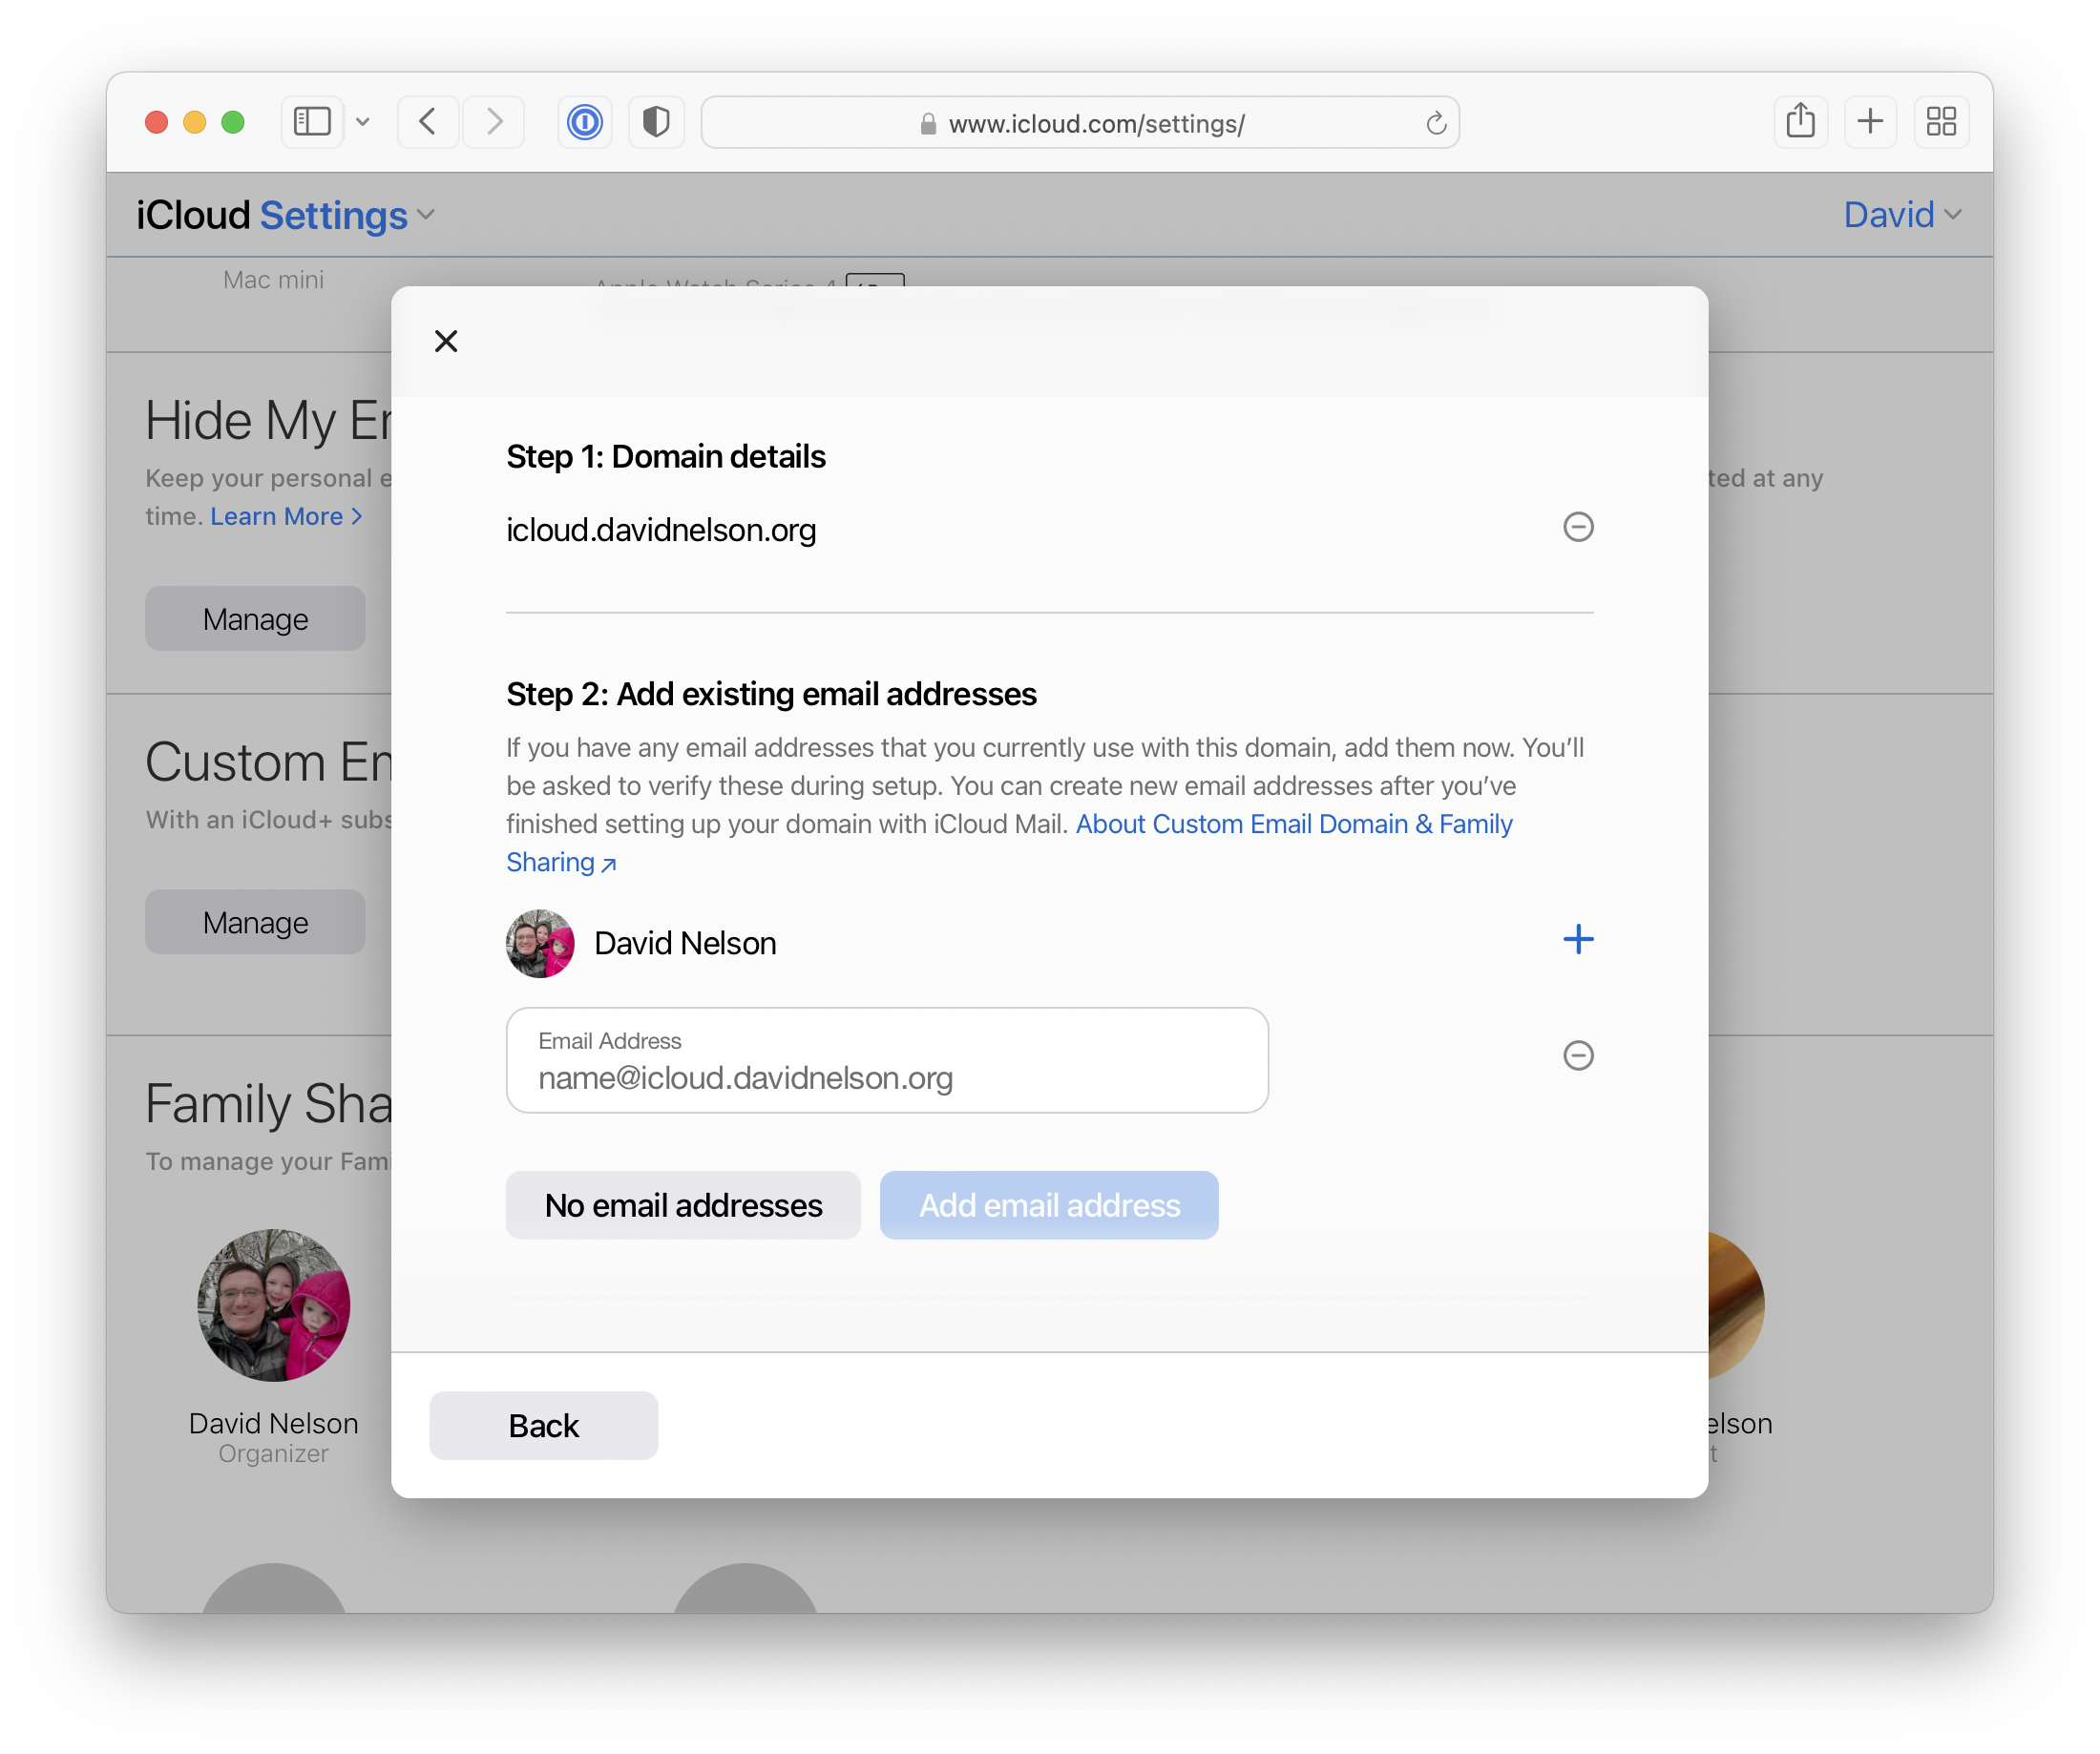
If you’re part of a family sharing group you’ll be asked if the domain is just for you, or if you want to share it with your family members. It doesn’t appear to be possible to change this after the fact. At least not without removing and re-adding the domain.
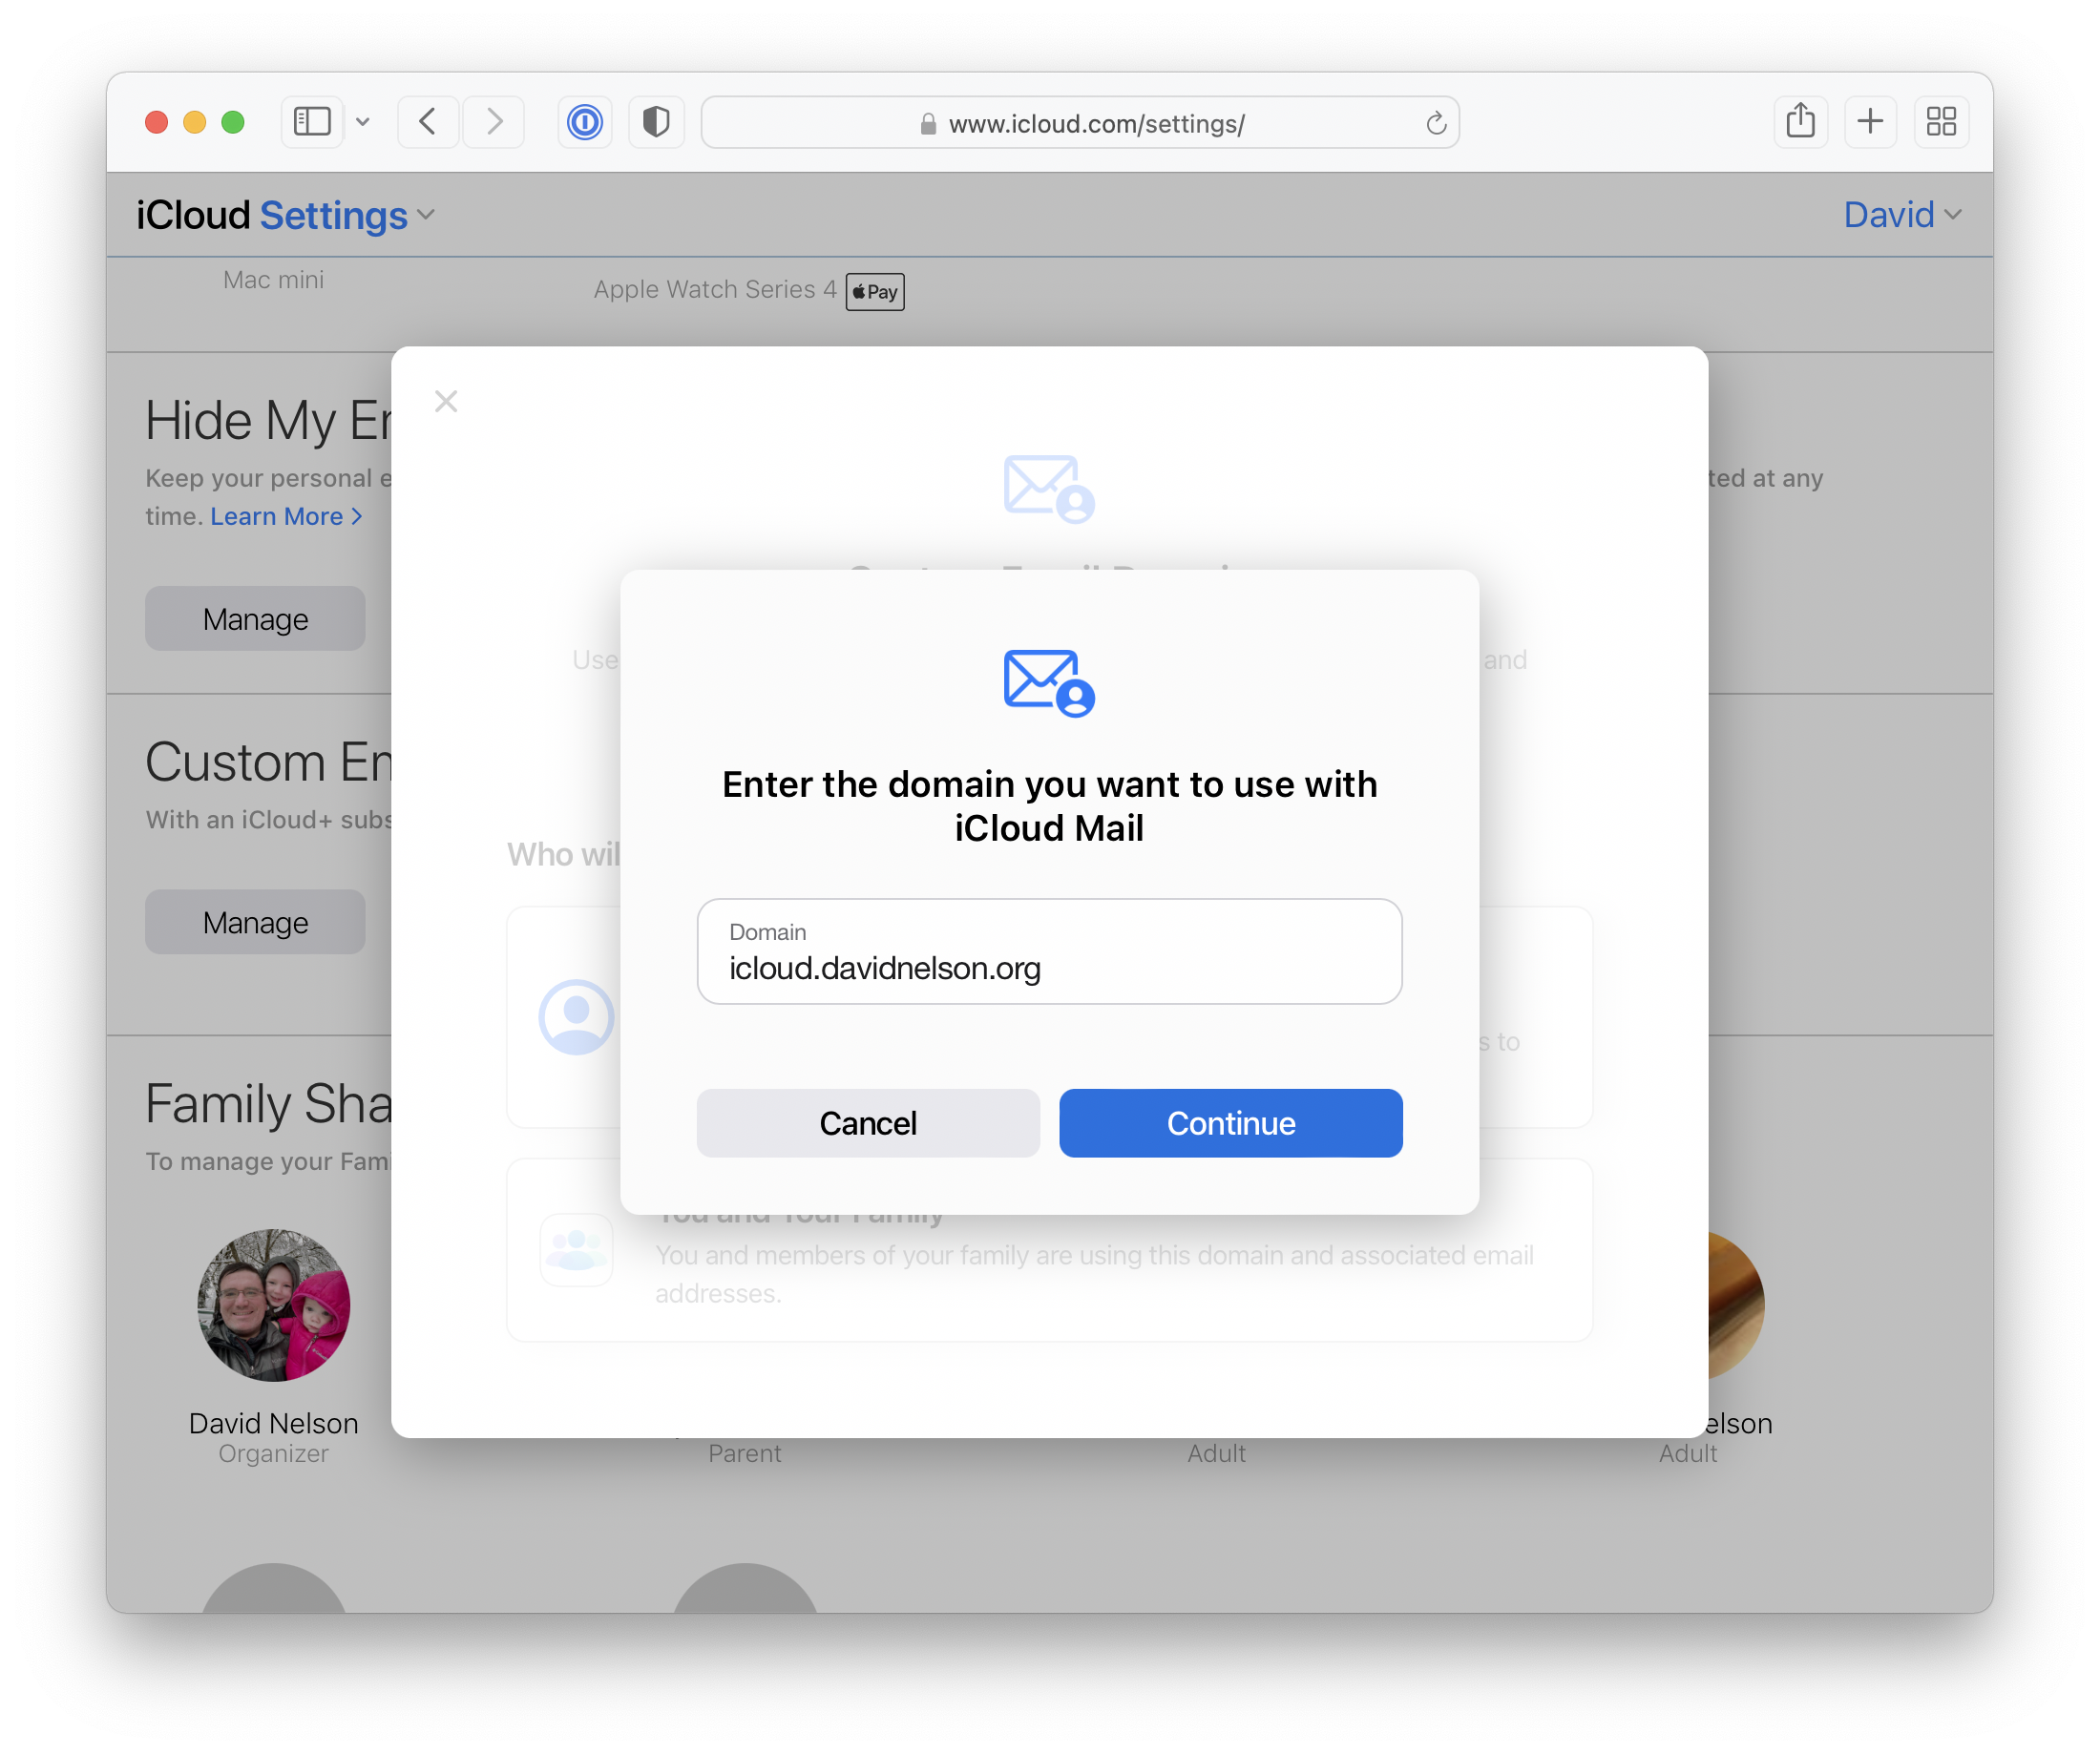
You’ll be asked what domain you want to use. This has to be a domain (or subdomain) that you own and have the ability to manage DNS records.
Next you’ll be asked to add and verify (via email) any existing addresses you want to use. I’m not sure why this is necessary since you could always add them after.
Now we need to update some DNS records using values Apple provides. Exactly how this is done and what it looks like will vary by DNS service, depending on whether it’s on a server you directly administer, or via a control panel provided by your registrar such as Hover, GoDaddy, etc. The records we need to add are:
- Two MX (2) records which determine where mail should be delivered for your domain.
- Two TXT records. One verifies ownership of your domain. The other is for SPF, which lets the world know which servers are allowed to send mail on your behalf.
- One CNAME that points to a DKIM record. This identifies a key that will be used to sign mail sent from your domain. It helps other email servers know that the mail is legitimately from you and was not spoofed or tampered.

After creating or updating your records, click Finish set up. At this point Apple will reach out to your DNS server and check that the records were entered correctly.
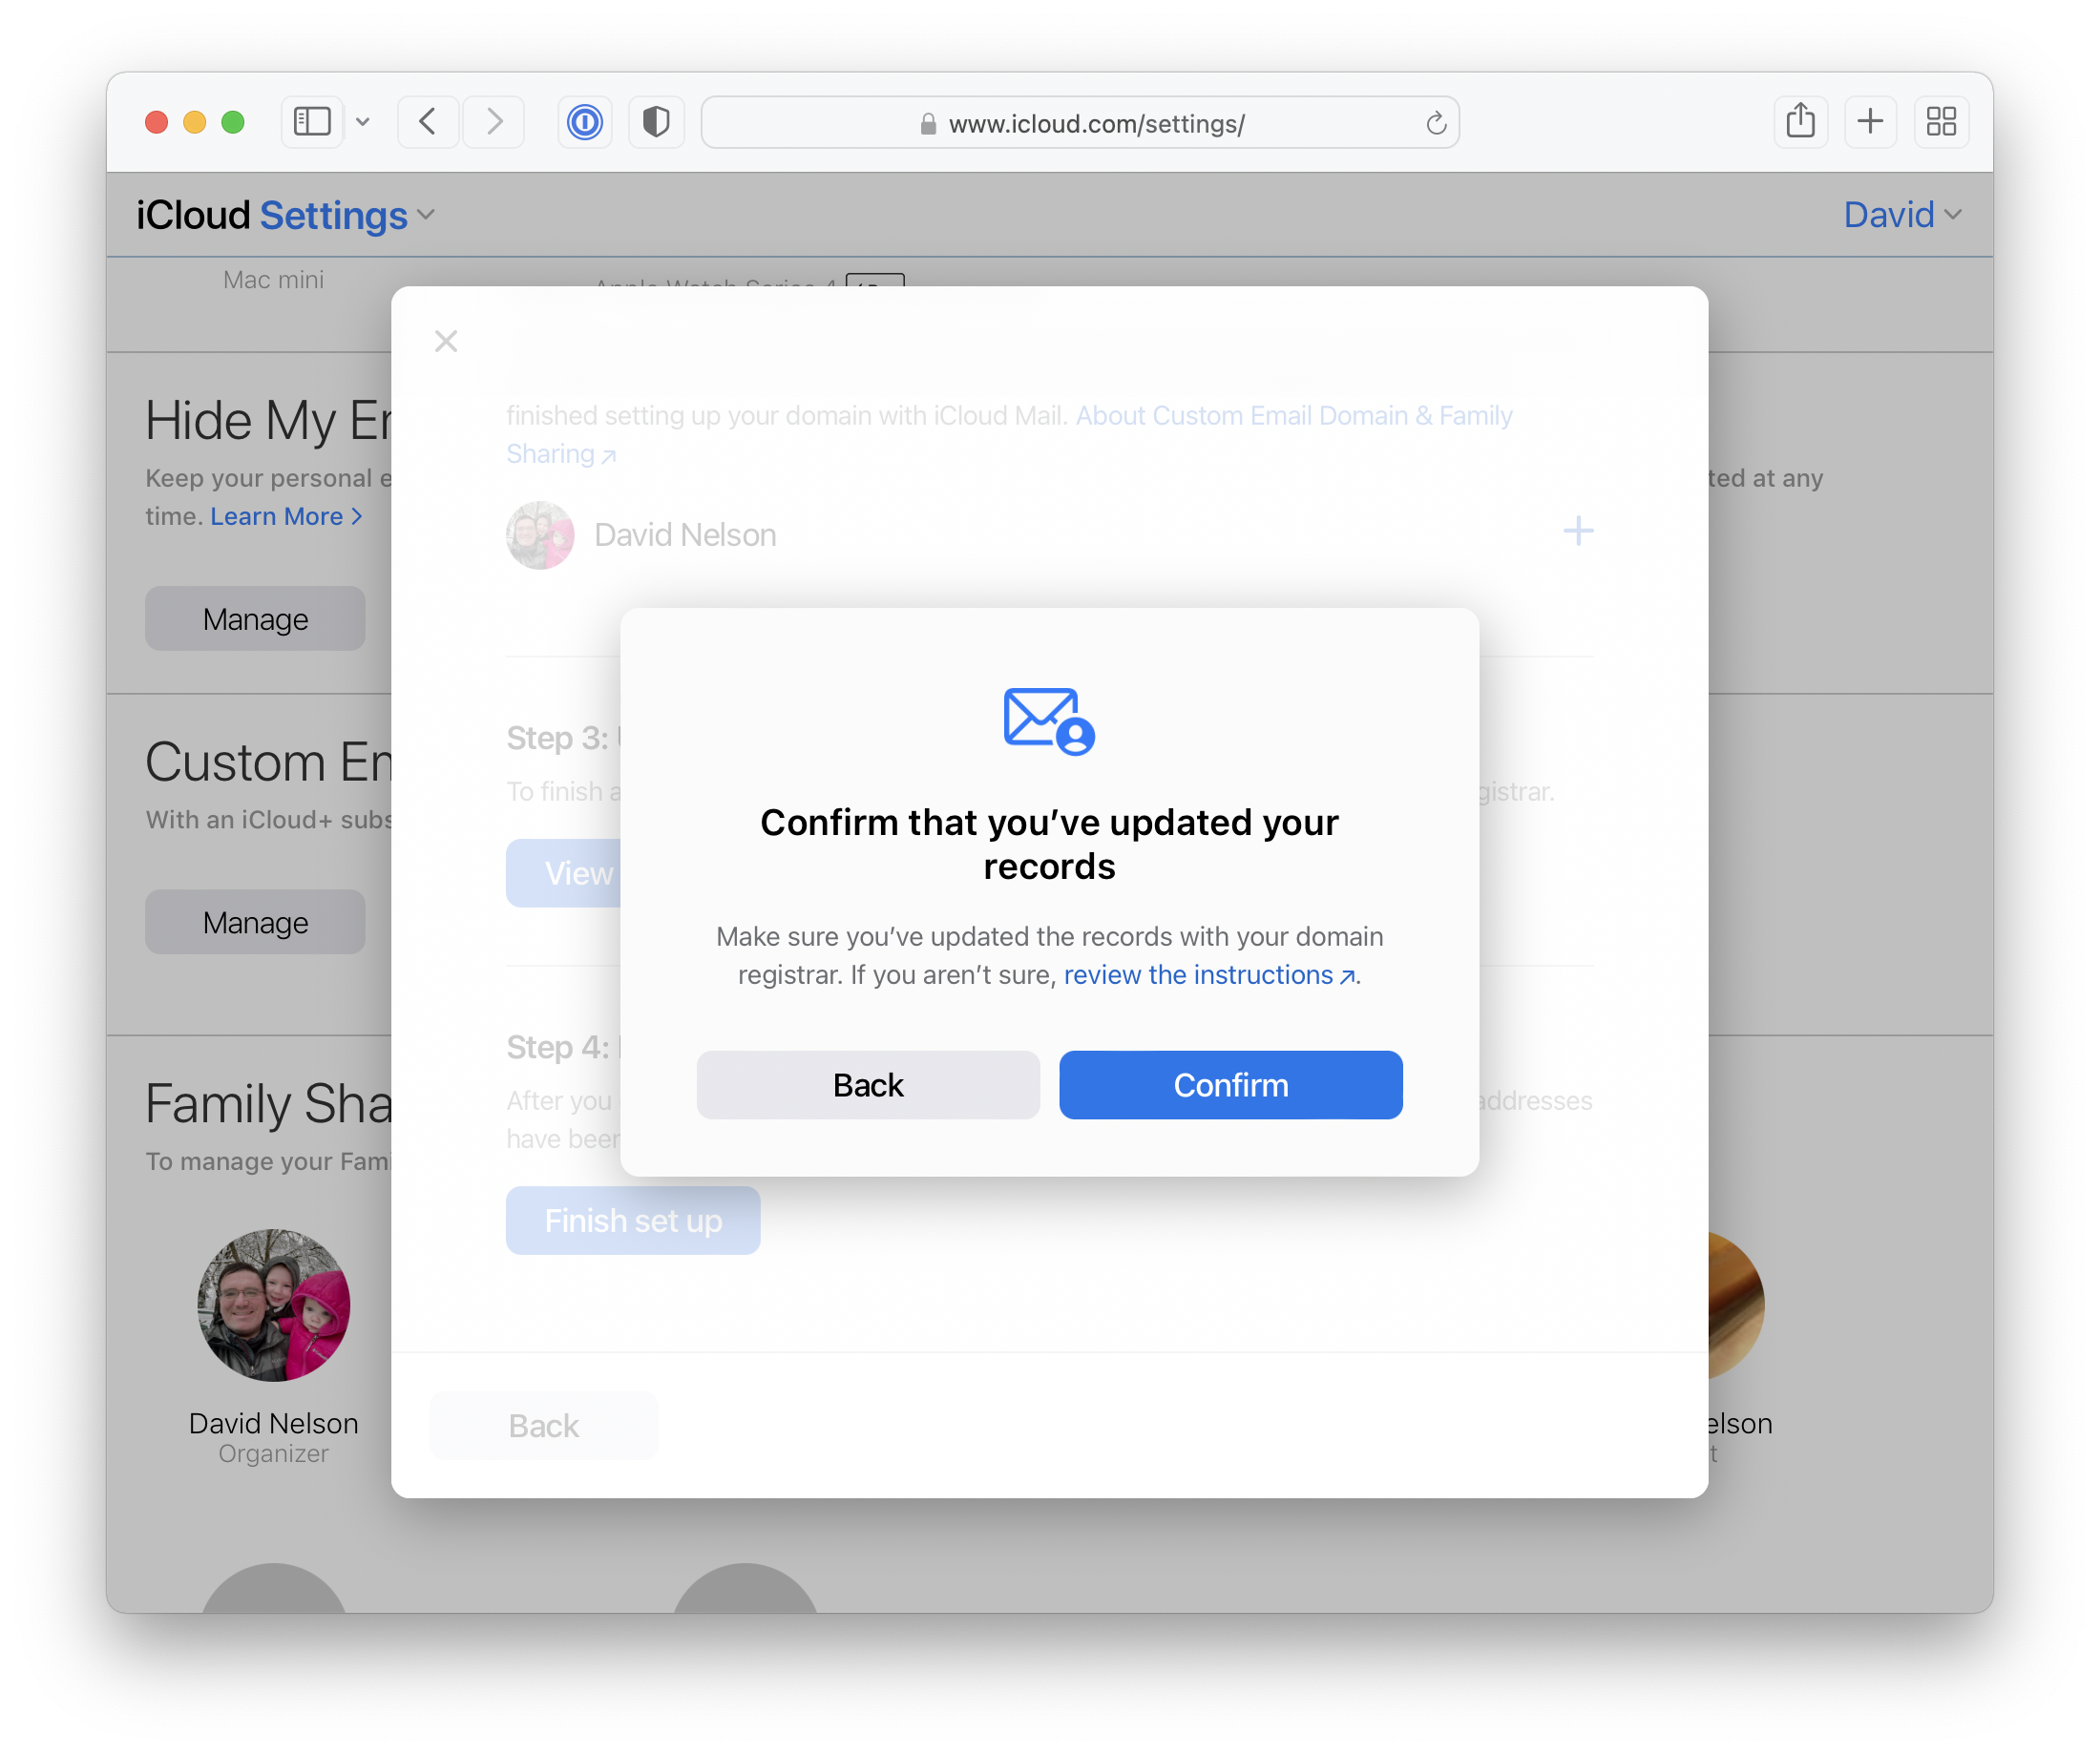
If everything looks good you’ll get a message confirming that it’s ready to go.

Now you can create any additional addresses that you didn’t enter earlier.
That’s it! From here it’s just another email address you can use wherever you access your iCloud mail.